
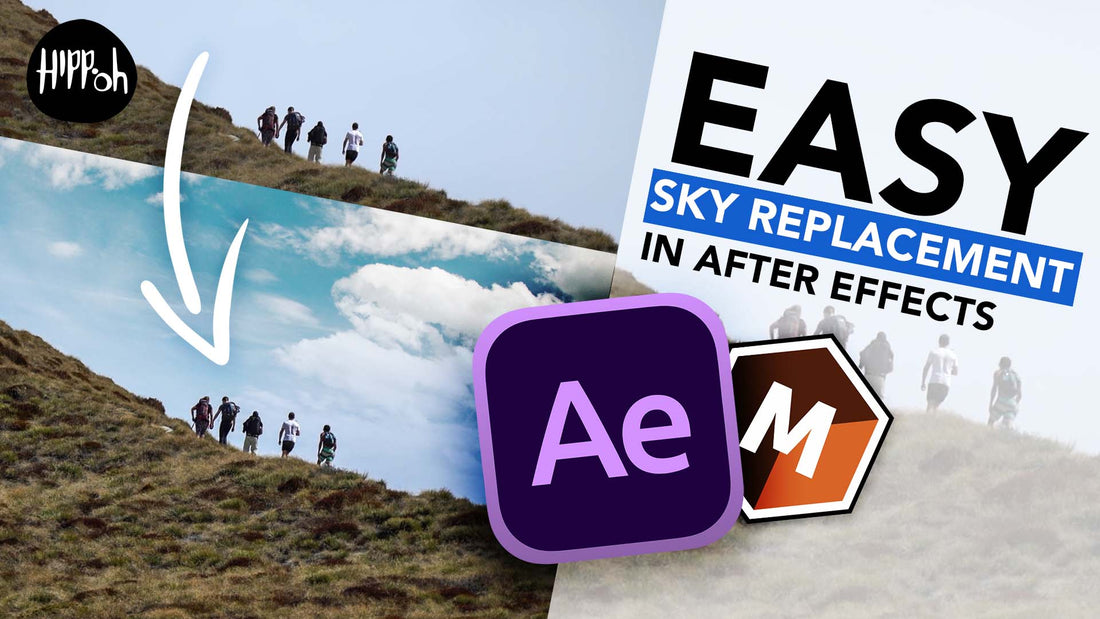
How to do Sky Replacements and Motion Tracking in After Effects
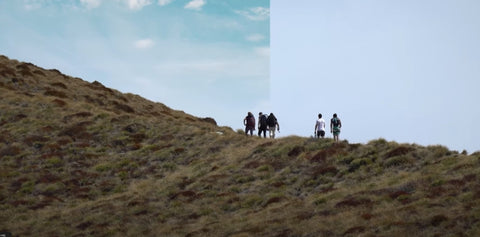
When shooting a scene outdoors, the sky isn't always in your favor. Sometimes, you'll find yourself in a situation where you need to replace the sky. In fact with a lot of my past vfx work, I recall having to replace the skies in a majority of the shots
If you're doing a sky replacement, you're generally trying to make your shot look better or add a mood to it. For instance, if the story required a stormy scene or a foreboding moment, we might add an overcast and cloudy sky. On the other hand, if it's a happy hiking moment, we'd go for a bright blue sky and a super sunny day. It works for the shot and looks far better than just the plain sky. What's stopping you there? Why not add a crazy Sci-Fi landscape!
Now let's get down to business. Here are the steps we'll follow in the video below:
- Track the shot using Boris Effects Mocha. If it's a slow-moving handheld shot on a telephoto zoom like mine, it should be a pretty simple track in Mocha.
- Do a little bit of an alpha matte to separate the sky from the ground.
- Fine-tune that result with the original shot and a little bit of masking magic.
- Add in your sky and voila!
Once you've tracked the shot, created that alpha matte, or maybe rotoscoped it if you need to, the world's your oyster. You can add whatever you want in the background. You could add mountains, an airplane, or even ALIENS coming in to destroy your scene.
Sky replacements are a fun way to experiment and bring your creative vision to life. It's a useful technique to have up your sleeve, and definitely a KEY tool on your compositing toolbelt. Thanks for stopping by!